Genus editors are responsible for editing existing plant pages, as well as for creating new ones in order to fully and accurately represent each genus to the viewer.
Editing an existing page may be desirable or necessary for several possible reasons:
- There are errors in the existing page, such as an incorrect species name, assignment to an incorrect genus, faulty text information, etc.
- A better image of the subject is available, and should replace the existing primary image.
- There is an absence of information, e.g. no text at all, and the editor wants to add appropriate notes.
- No information exists on the page as to photographer or grower, and that information becomes available to the editor.
- Etc.
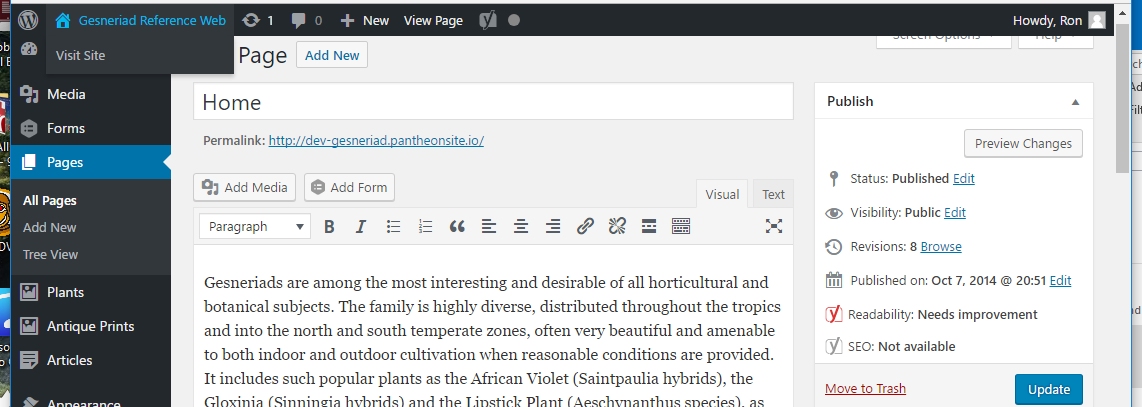
While logged in to the site as an editor, it is easiest to review existing material using the front-end view, which is the same as a non-logged-in viewer will see. You can get to the front end from the Dashboard by hovering over the “Gesneriad Reference Web” phrase in the top black bar and then clicking “visit site”.
You can also view the front end of the site by clicking on the “View Page/Plants” item on the top black bar at any time. This will take you to the front end view of the current page and you can use the standard menu navigation to get to any page on the site, just as would a casual visitor. Note that if you are in a Genus Page, it will say, “View Page” and if in a Plant Page, it will say “View Plants”.
During a transition phase while some technical issues are resolved, there may be a “View” link just underneath the permalink in the main body of the page, which will take you to the front end view of the current location.
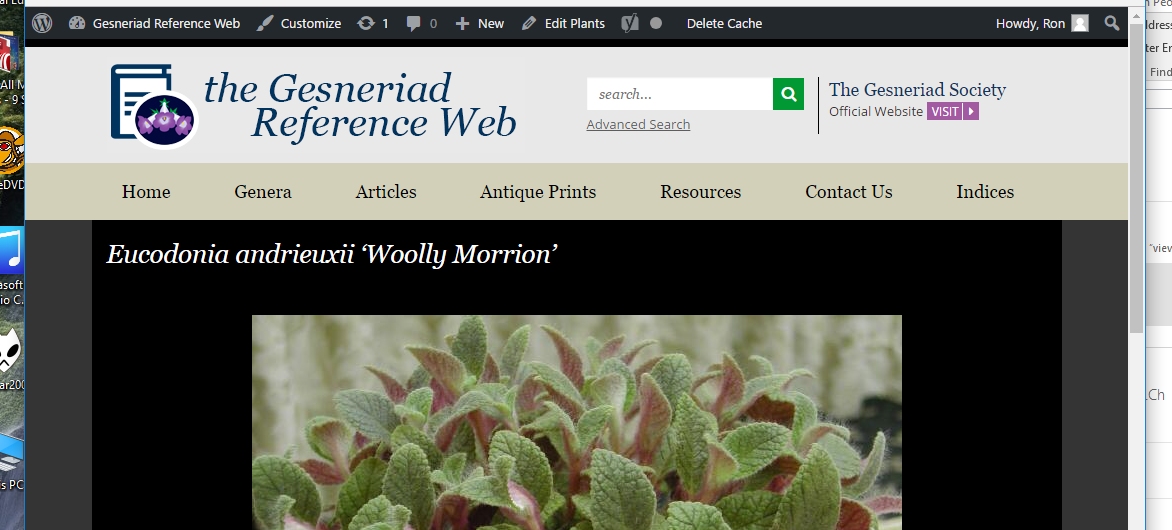
Once you are viewing a page that you want to modify in some way, click “Edit Page/Plants” in the top black bar in the front end view. In the page shown above, we will un-italicize the cultivar name, although any other edit can also be done from the Dashboard for the page.
Note that the Edit Plants link toggles to View Plants when you are in the Dashboard view.
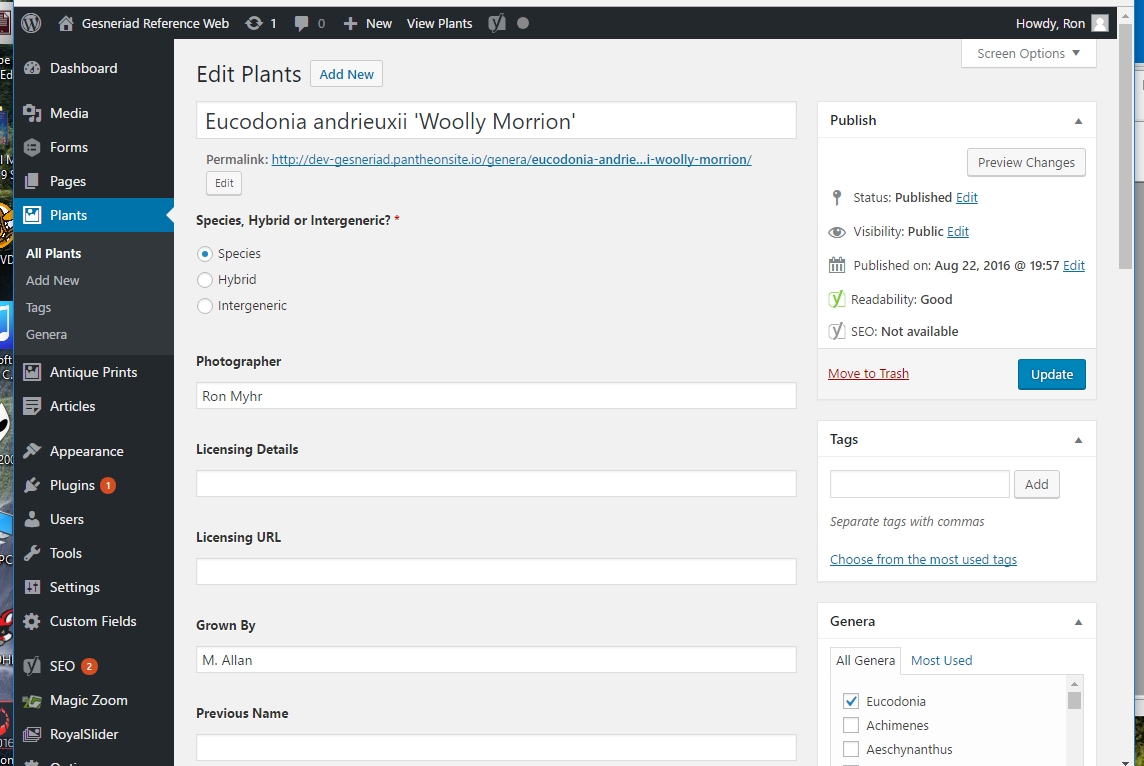
Before we actually do the intended edit, let’s review the parts of the Dashboard for Plants Pages, starting with the top part of the page as shown above.
You can add a new page by clicking on the Add New button at the top, which will result in leaving this page and entering a “blank” one.
The name of the cultivar appears in the title box, and can be edited by adding, deleting, changing, etc. In this case we will add some codes so that ‘Woolly Morrion’ becomes unitalicized in the front end; details of how to do it are below.
Editing the “Permalink” is something that you are unlikely to need to do; ignore for now.
Identify the plant as one of a species, hybrid or intergeneric. In this case, the plant is a species, albeit a particular cultivar of a species. Species is correctly selected.
The Photographer and Grower are identified; no licensing information is required (as it might be for some photos sourced from the web), so these fields are blank.
Towards the bottom of the page (at the top of the portion above) is a field for “Previous Name”. This is left blank, because there is no relevant previous name for this species/cultivar. Should a correction be required due (for instance) to a taxonomic change, enter the old name here and the new corrected name in the main title space. This allows web or site searches on the old name to produce this page as a hit.
To the right of this screenshot is a list of species. Eucodonia is correctly selected, and with the selection of “Species” in the check box, results in this plant being placed in the Species section of the genus Eucodonia.
A Featured Image is already in place, and there is no need to change it. If you wanted to change it, you would first of all click “Remove Featured Image” (not visible above) and then “Set Featured Image”. This process is outlined on the next page, which is about creating a new Plants Page.
When you have made your changes, make sure to click Update to the right, in order to save them.
In many cases on the site, non-Latin parts of cultivar names have been italicized. It was not possible to import italics/non-italics correctly in titles from the old site; in titles of plant pages all text is italicized by default (on balance, there are more “pure italics” titles which require no intervention, so we went with this default). In order to make the part that shouldn’t be italicized into normal text, we need to insert some “control codes” within the title area. It’s awkward and cumbersome, but that’s life.
A control code is enclosed within pointy brackets, < >. “Em” stands for emphasis or emphasize, and this means “italics” in WordPress-world. So the control code <em> will result in italicization of everything that follows, until a “stop” code is encountered, in the form of </em>. When you want to Un-empahsize (the same as unitalicize), you use <uem> and </uem>. This is what I’ve used above.
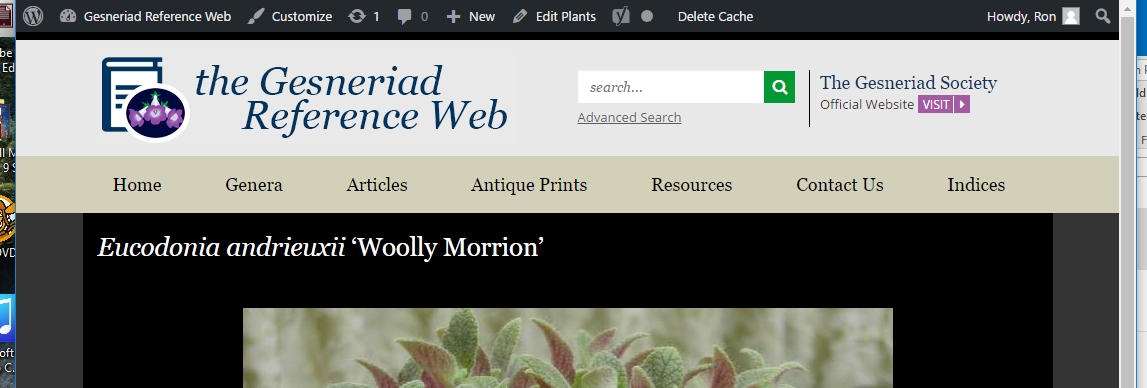
And the result is:
It’s not critical that every instance of incorrect italicization in titles be corrected immediately, but as you are working with the site, make it a habit to do this routinely whenever you encounter the problem. It only takes a few seconds.
Aside from page titles, you may also find the issue arising in images from the media library, specifically in Titles, Captions and Descriptions. In those cases, you are more likely to force italicization, rather than un-italicize, because the default is normal text.


